OLED Shield
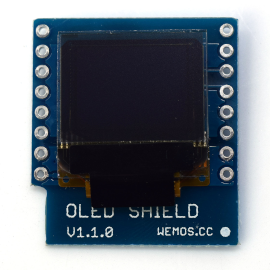
OLED Shield
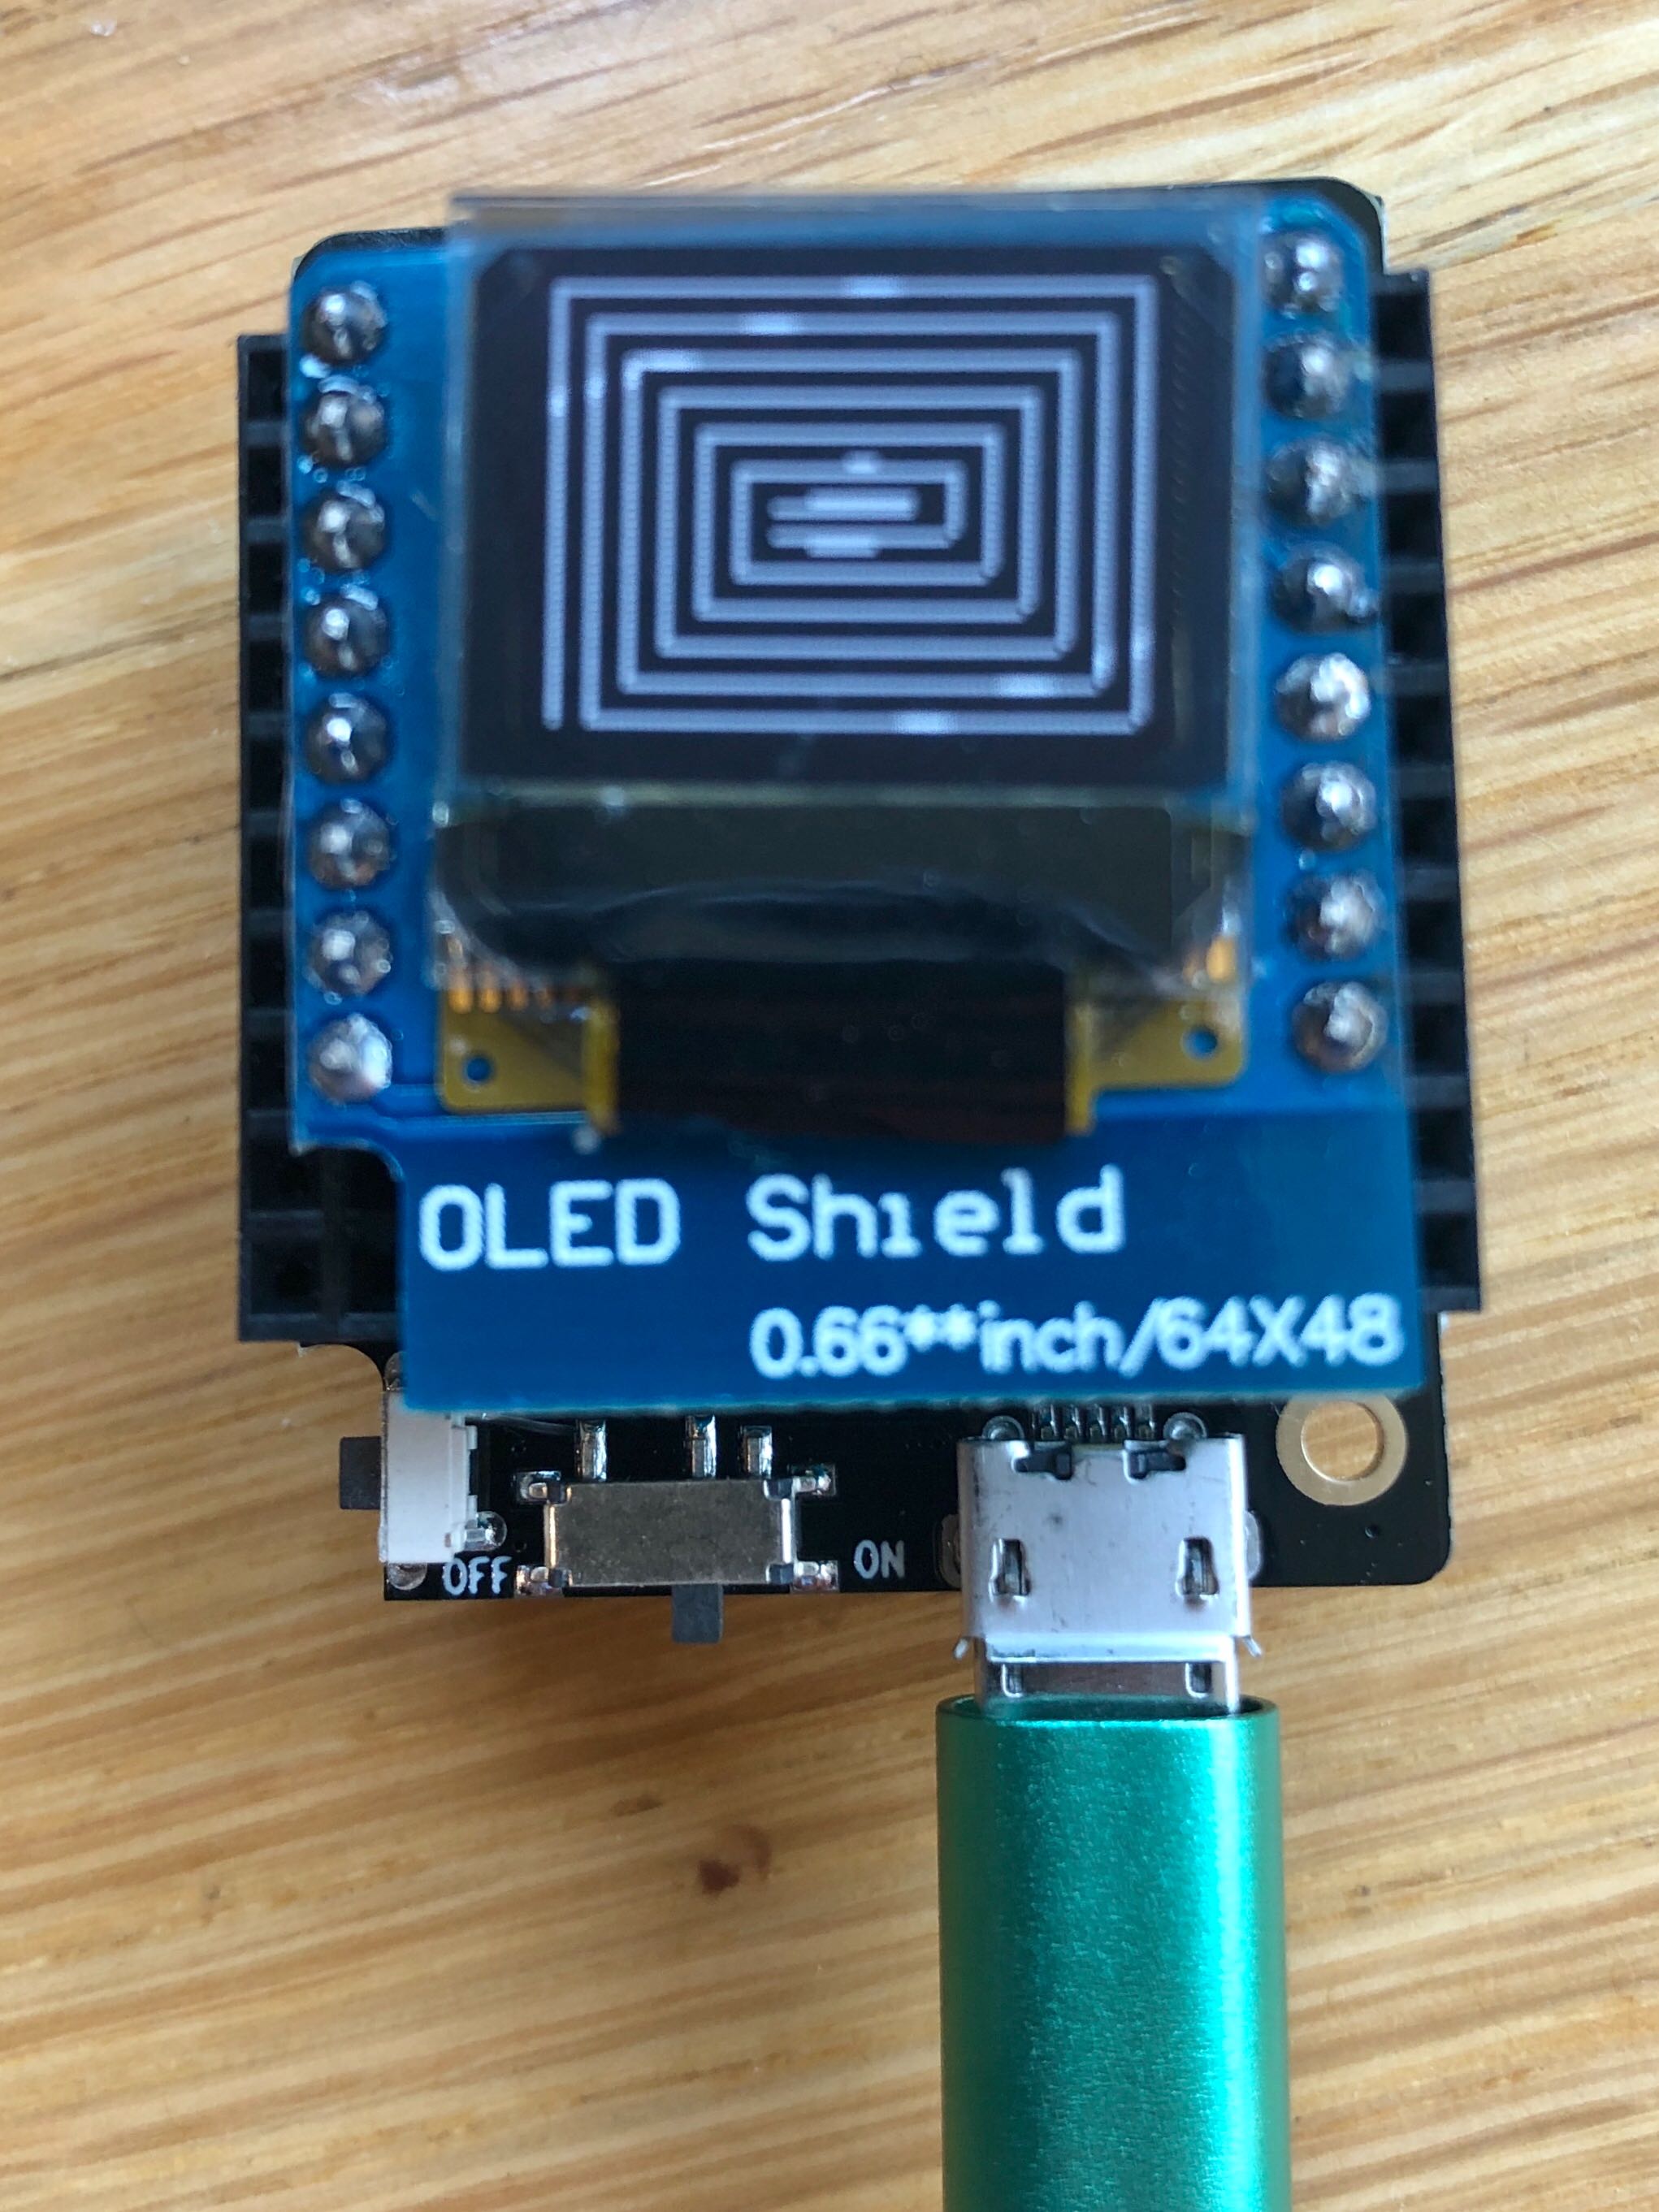
The OLED Shield is a D1 Mini form factor shield that hosts a tiny 17mm 64x48 monochrome OLED display.
Note
What is an OLED? It stand for Organic Light-Emitting Diode. It describes the technology used to turn on or off pixels - dots - on the display. The term is largely unimportant, just think of it like a tiny little TV where you can control every pixel.
Although small, this shield packs a punch! You can draw pixels, render lines and display text.
The integrated circuit that makes the magic happen is an SSD1306. It sits between the microcontroller and the raw display and allows us to send commands to make stuff appear. The SSD1306 is a common chip and so a driver for it is built-in to MicroPython.
Let’s see how it works!
Plug me in
Warning
While it is possible to plug shields in to the device while it is powered (plugged in to your computer), it is not recommended! As such, please remember to unplug the USB from your board prior to connecting or disconnecting any shields, or else you risk damaging the shield or the board.
As with all the other shields, the first thing to do is plug the OLED shield into the microcontroller. Take care with orientation:
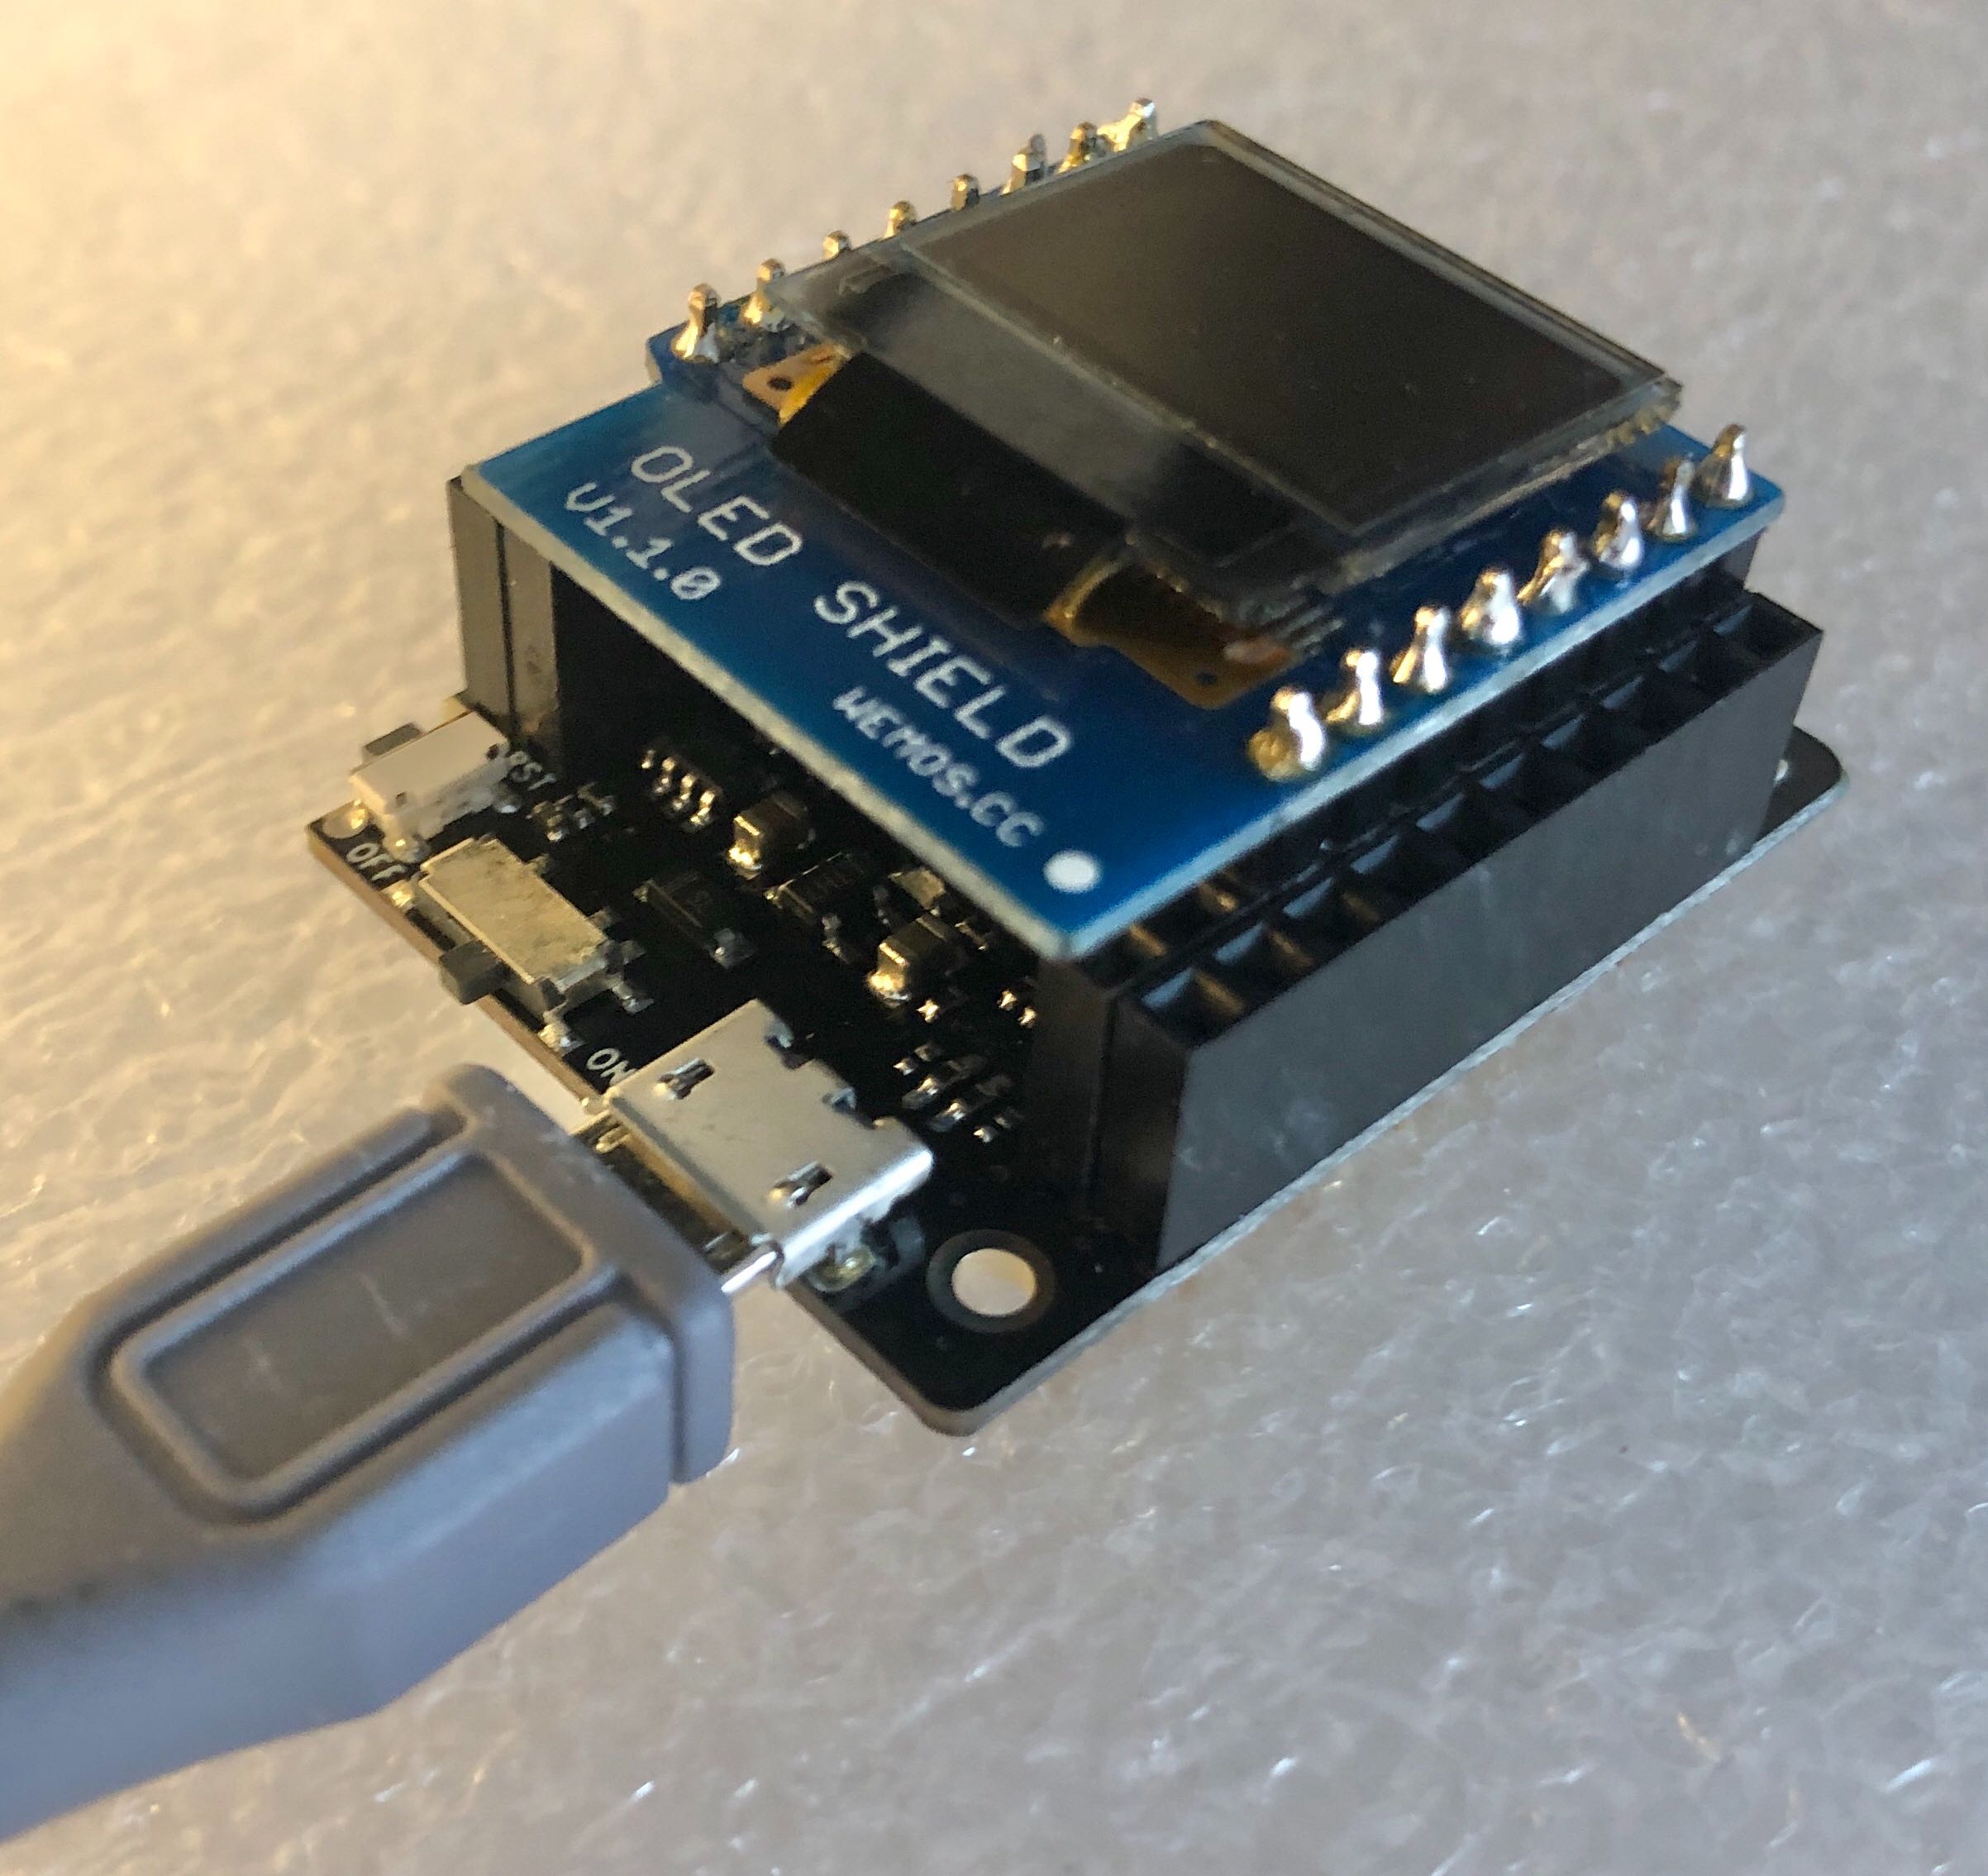
OLED Shield, plugged in correctly
Techy details, I squared C?
The SSD1306 is controlled by sending I2C data at it. What’s I2C? It’s a communications protocol, but it’s not critical to know more than that to use the OLED Shield. If you would like to know more, take a look at I2C.
Drawing
The SSD1306 driver provides a handful of functions to display pixels on the OLED. First though, the display needs to be initialised. Let’s work through an example:
1 2 3 4 5 6 7 8 | from machine import Pin, I2C
import d1_mini
import ssd1306
i2c = I2C(-1, scl=Pin(d1_mini.SCL), sda=Pin(d1_mini.SDA))
width, height = 64, 48
oled = ssd1306.SSD1306_I2C(width, height, i2c)
|
Here we initialise oled so it’s using microcontroller pins that are
configured to use I2C. We also take care to set the width and height of our
display - the SSD1306 can work with a number of differently sized displays
but it’s critical to configure it appropriately.
It’s worth noting that the display’s ‘origin’ - where x and y are
both zero - is in the top left.:
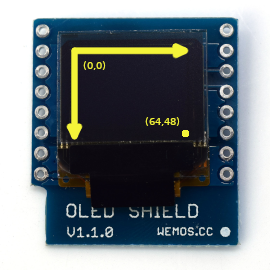
OLED Shield, annotated with row and column numbering
Now we can draw things!:
1 2 3 4 5 6 7 8 9 10 11 12 | # Text is easy!
oled.text('Hello,', 0, 0, 1)
oled.text('World!', 0, 10, 1)
# Draw a triangle and it's centroid
v1, v2, v3 = (2, 24), (2, 46), (60, 46)
oled.vline(v1[0], v1[1], v2[1] - v1[1], 1)
oled.hline(v2[0], v2[1], v3[0] - v2[0], 1)
oled.line(v1[0], v1[1], v3[0], v3[1], 1)
oled.pixel((v1[0] + v2[0] + v3[0]) // 3, (v1[1] + v2[1] + v3[1]) // 3, 1)
oled.show()
|
:
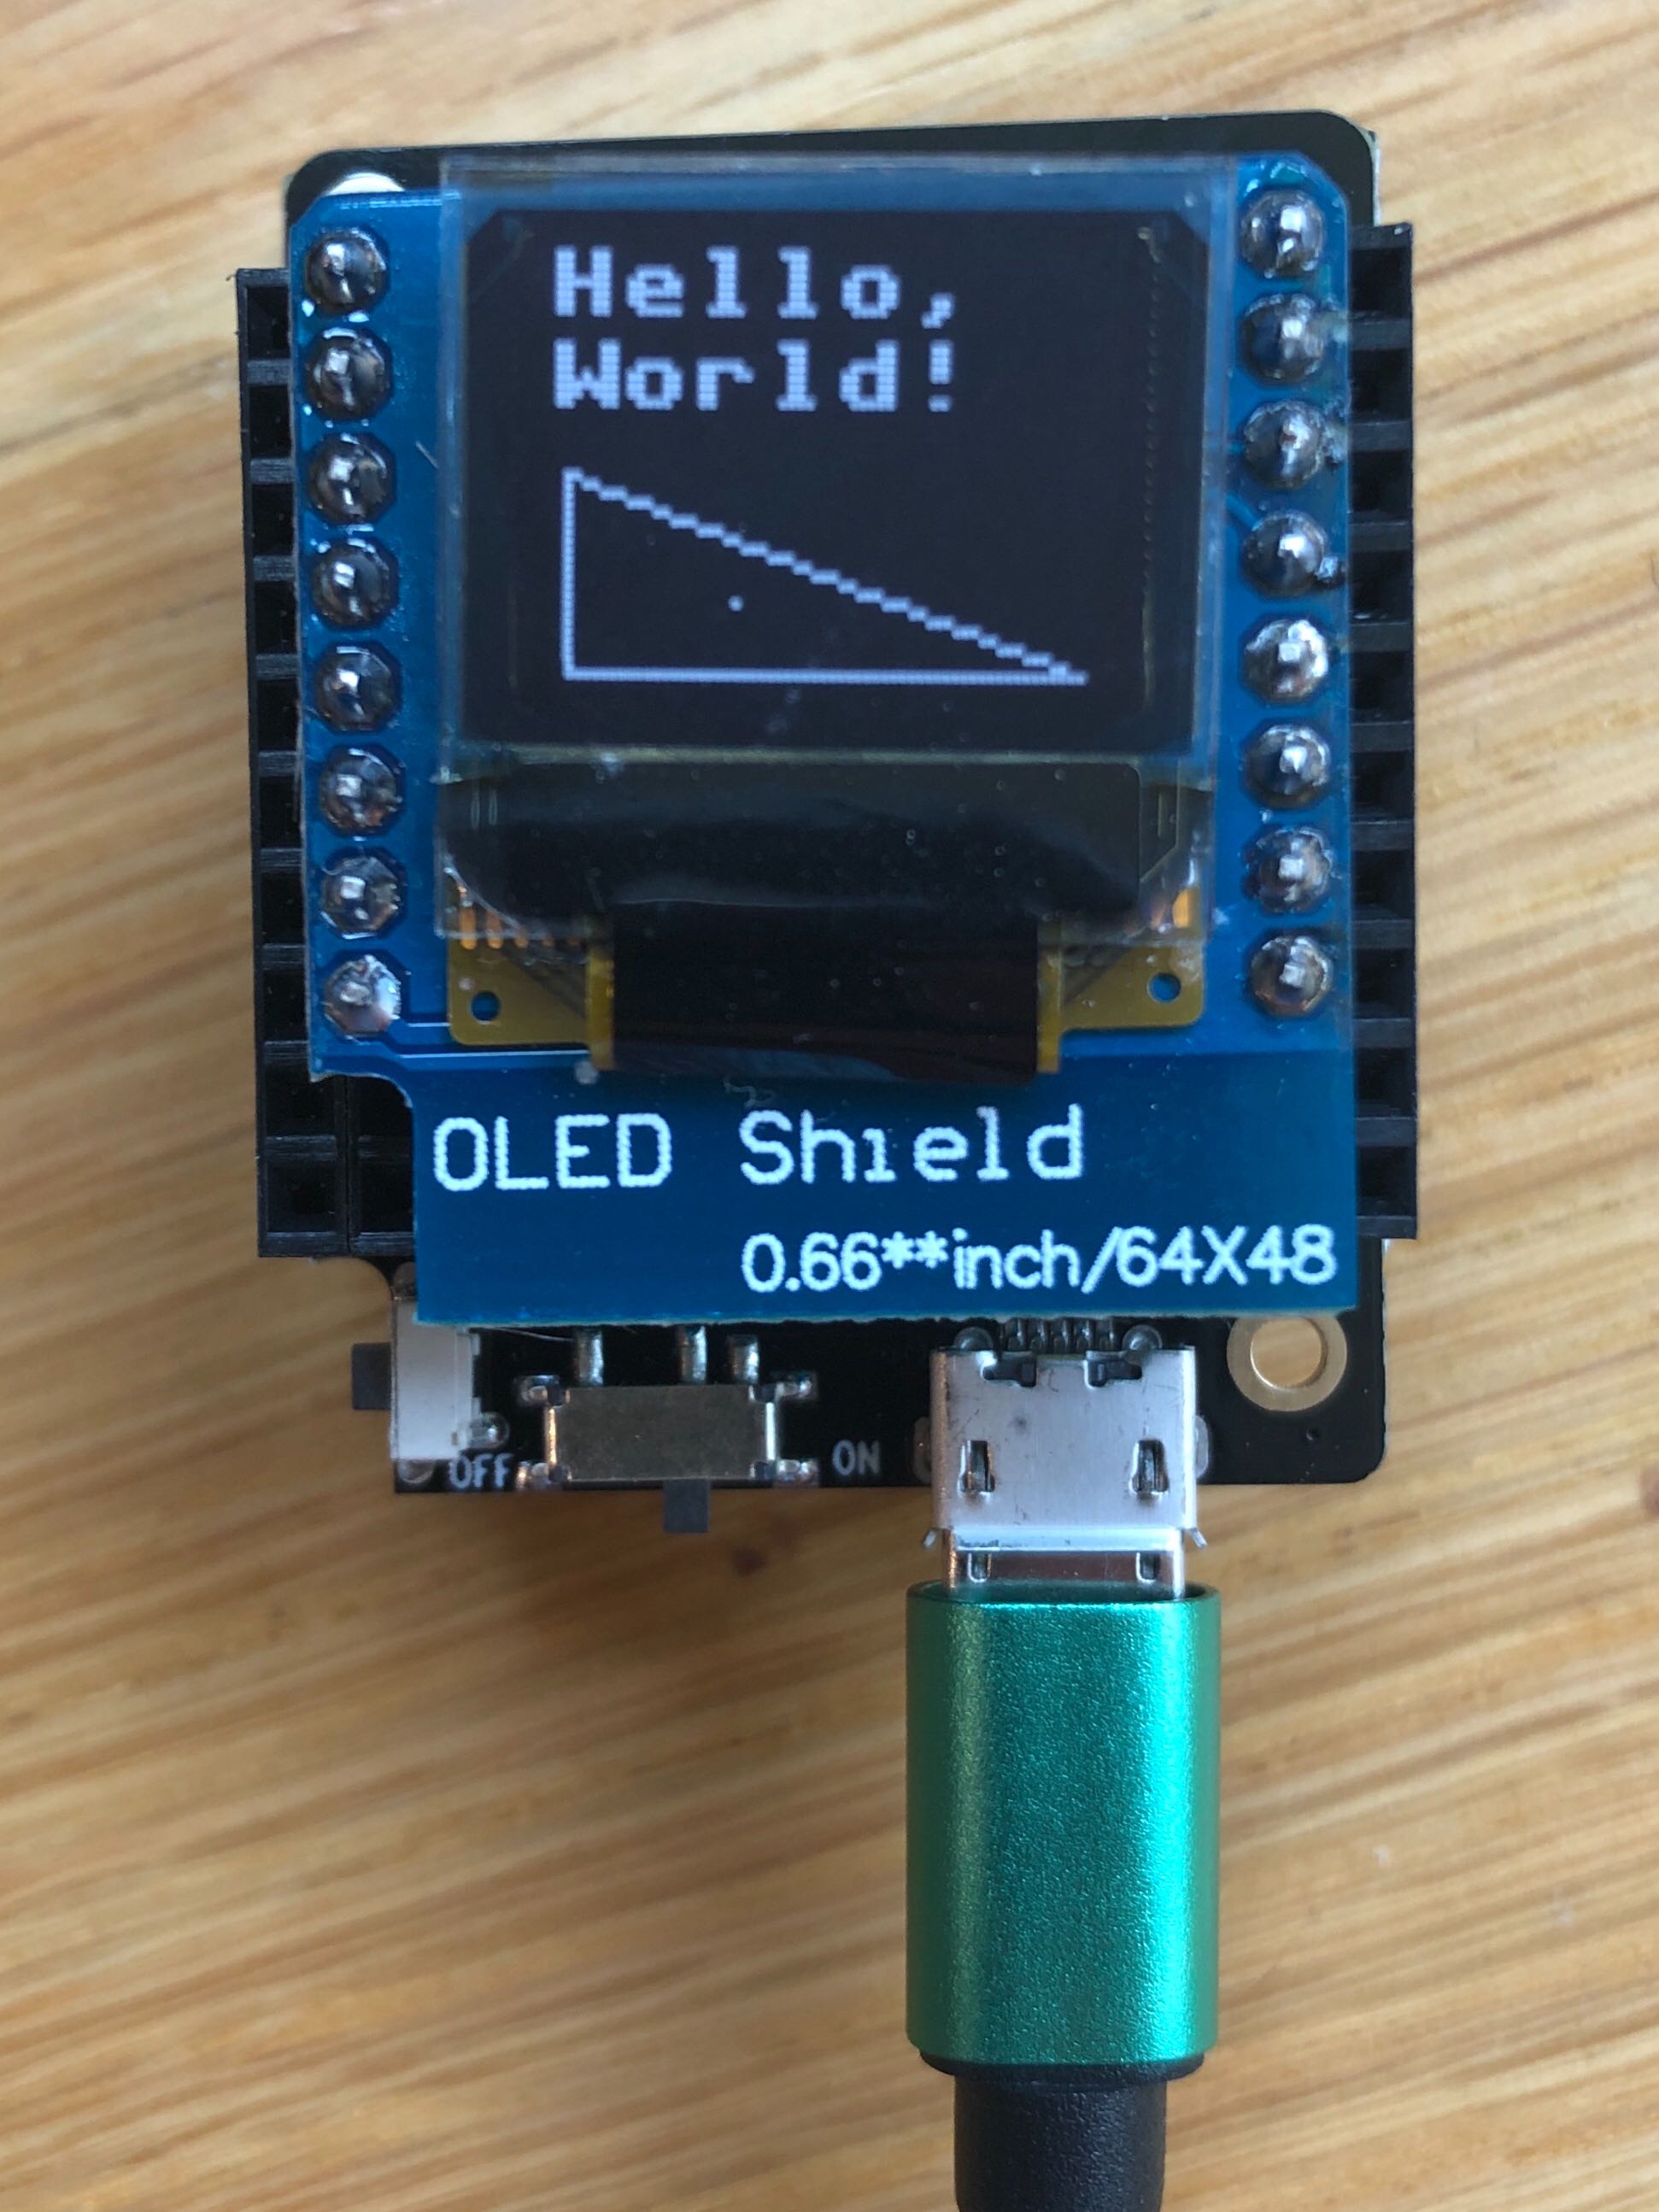
We can draw!
The drawing commands are defined in FrameBuffer which the SSD1306 driver
uses internally. text, pixel, hline, vline and line are
fairly clearly named - you can probably guess what they do! - but see the
FrameBuffer docs if you’d like more details.
Note that the display is monochrome so there’s only two colour values (the last parameter in the drawing methods) that make sense: 0 (black) or 1 (white).
Exercises
Exercise 2: Animate the spiral
Render the same spiral using pixel but use show after each pixel is
drawn so that the sprial appears to draw from the centre to the outside.
Bonus points: Make the animation loop forever by giving the spiral a maximum length so the ‘oldest’ pixel is erased when the spiral becomes too long. It should look like the old snake game!
Exercise 3: Bouncy, bouncy [Hard]
Render a pixel near the centre of the display. It’s a bouncy ball! Give it a velocity and direction and render it moving about the screen, bouncing off the edges of the screen