RGB LED Shield

RGB LED Shield, with LED indices annotated
The RGB LED Shield is a basic shield, featuring 7 independently-controllable RGB (Red, Green, Blue) LEDs. With the combination of the red, green, and blue channels of these LEDs, they can each to be set to any colour on the spectrum.
There are many types of RGB LEDs out there - these ones happen to be NeoPixels, which conveniently are natively supported in MicroPython!
Light Those LEDs
In order to start working with the LEDs, we’ll need to connect the shield to your TTGO board! But first…
Warning
While it is possible to plug shields in to the device while it is powered (plugged in to your computer), it is not recommended! As such, please remember to unplug the USB from your board prior to connecting or disconnecting any shields, or else you risk damaging the shield or the board.
Warning
The LEDs on this shield are incredibly bright at full brightness! Do not
look directly at the LEDs if they’re at a higher brightness, or you don’t
know how bright they are! The boot.py script on your board sets these to
off on initialisation, but it is still better to avoid staring at the board
when initially powered in case they are enabled on startup.
When setting the values of these LEDs, take this into account and scale down - you’re unlikely to need the whole 255 range, clamping it at a maximum of 50 is more than likely plenty.
Now we’ve got that out of the way, let’s plug it together! It’s important to pay attention to the orientation of the shield - the “LOLIN” label should be over the USB port of the main board. Then simply align the 8 pins on either side with the sockets on the main board and push them together!
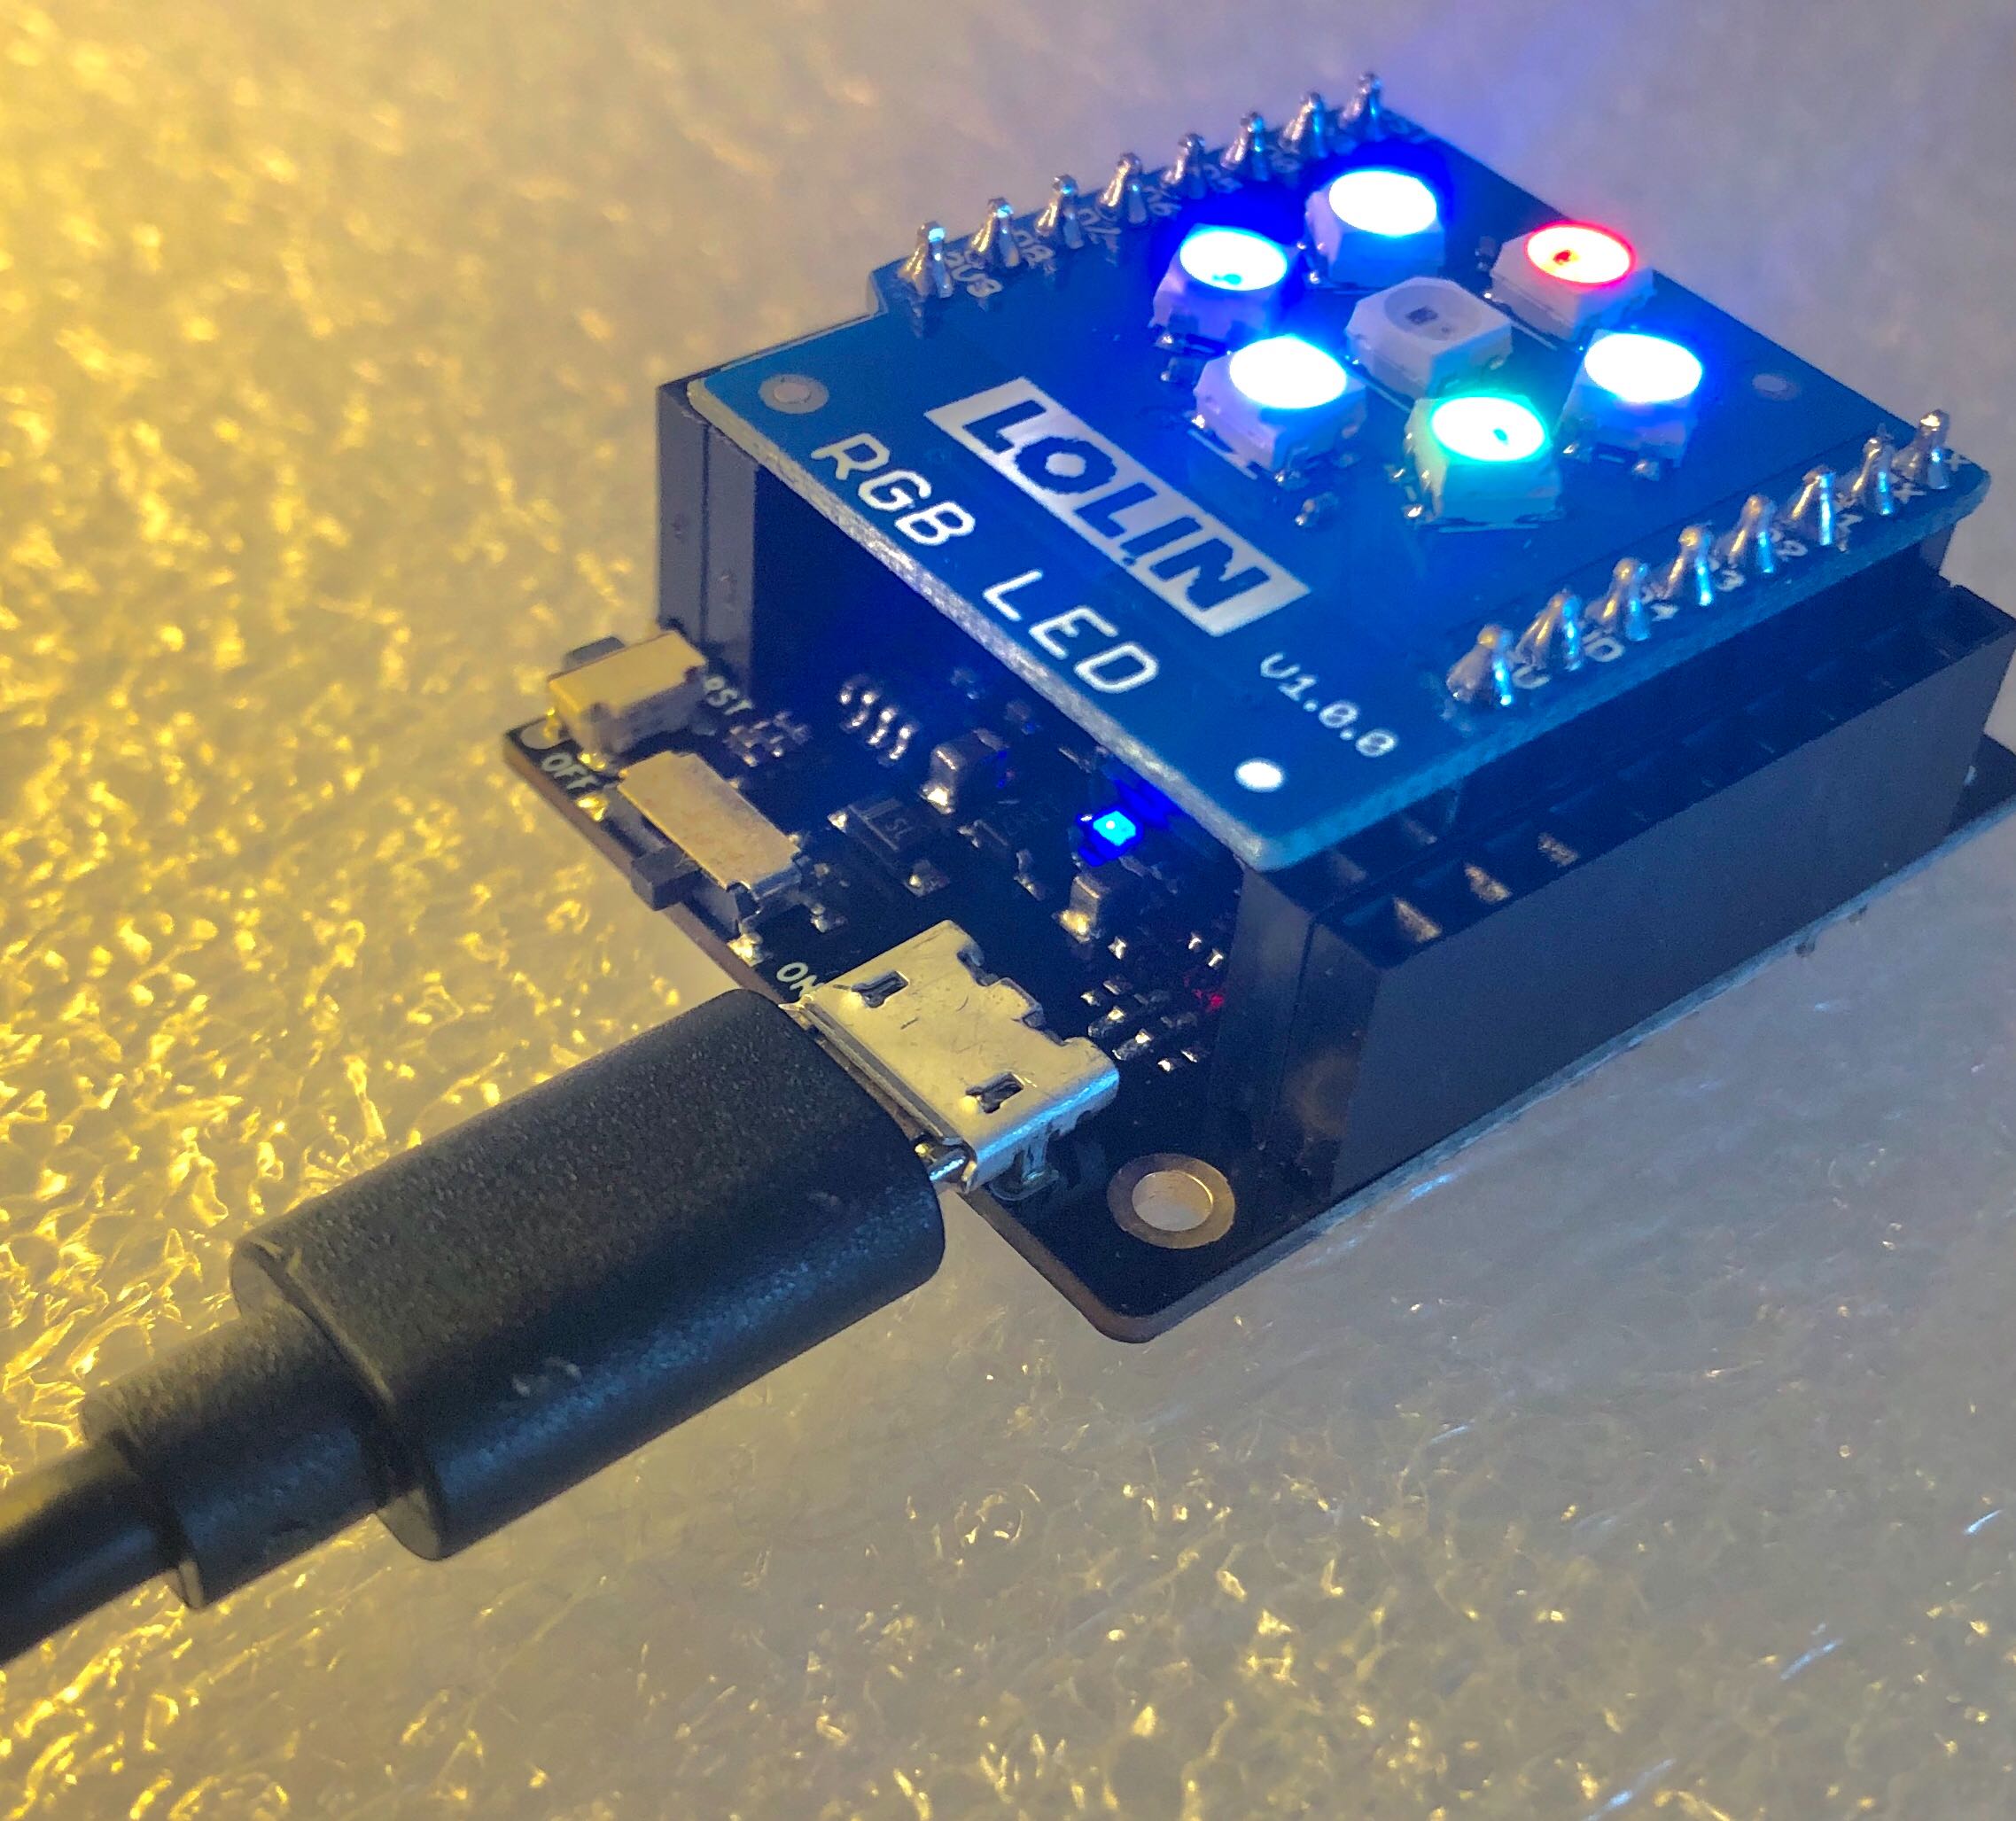
This image was taken with maximum values for the LEDs capped at 25 - 10% of
the actual maximum! Note the LOLIN text over the USB connection.
Now we’ve got the shield on the board, connect to the board with your USB again, and get into Mu. Now let’s run the following commands to get these LEDs lit:
1 2 3 4 5 6 7 | import machine
import d1_mini
import neopixel
np = neopixel.NeoPixel(machine.Pin(d1_mini.D4), 7)
np.fill((25,25,25)) # This just fills the memory of the np object
# The LEDs will not have changed colour yet
np.write() # This is what actually changes the colour of the LEDs
|
Now all of your LEDs should be illuminated white! Now lets run down what we just did:
- Imported our
d1_minimodule – we need this to set the pin that is used for communicating with the LEDs - Imported the
neopixelmodule – this is the driver that knows how to talk to the NeoPixels - Created an
npobject that represents our set of 7 NeoPixels. This constructor took two argument: a MicroPython Pin object that can be used for communicating with the LEDs, and the number of LEDs in our LEDs “strip” - Filled our
npobjects buffer with a single colour. Note that this only took a single argument, which was an RGB tuple (but we set them all to the same value, which made white!). Also note that this didn’t actually make the LEDs change, it just changed the buffer in thenpobject. - Wrote out our
npbuffer values to the NeoPixels themselves – this is what made the lights light!
Okay that’s great, but having 7 LEDs with the same colour isn’t super useful
(it might be if they were dim, but if that was the case we wouldn’t have needed
a warning earlier!). Luckily, modifying the LED object buffer is just as easy,
by directly indexing and setting colours in the np object:
1 2 3 4 5 | np[0] = ( 0, 0, 0) # Sets the 0 index (centre) LED to black (off)
np[1] = (25, 0, 0) # Sets the 1 index LED to red
np[3] = ( 0,25, 0) # Sets the 3 index LED to green
np[5] = ( 0, 0,25) # Sets the 5 index LED to blue
np.write() # Writes the buffer out to the LEDs
|
Similarly to the fill() command, indexing just modifies the buffer - we
still need to write() our changes out to the LEDs for them to change
colour.
You should now have a centre LED that is off, and alternating colours around your LED circle - exciting! You now have the full extent of control over these LEDs to bend them to your will.
Exercises
Time to take those concepts and put them into action! The following subsections detail different exercises that can be accomplished using the techniques covered so far.
Spin Cycle
Make one LED at a time light up around the circle of LEDs to make a spinning animation!
Hint: You can use time.sleep() to add delays to control the speed of the
spin!
Extension: Make the LED fade through the colours of the rainbow while it spins!
Digital Dice
Rapidly cycle through LED combinations representing the six sides of a (six sided) dice, before slowing down, and ultimately “landing” on one of the “sides”.
Hint: MicroPython has a cut-down version of the random module built-in!
On the ESP32 (the microcontroller on the TTGO 32 Mini) we have access to the
Functions for integers from BigPython!
Extension: Add a signal to show when the face has stopped changing – maybe a colour change, or a sequence of flashing (or whatever else takes your fancy!).