PIR Shield
PIR Shield
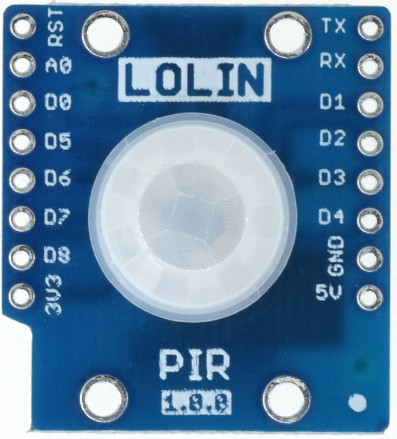
The PIR (Passive InfraRed) Shield is a D1 Mini form factor shield, featuring a PIR sensor. PIR sensors detect motion in a wide area around them, and are commonly used in security applications (for detecting movement in places nothing should be moving). It works very simply - it outputs 0 volts (logic low) when no movement is detected, and outputs 3.3 volts (logic high) when it detects movement. As such all we need to do is hook it up to an input on our microcontroller and we’re good to go!
Plugging in
Warning
While it is possible to plug shields in to the device while it is powered (plugged in to your computer), it is not recommended! As such, please remember to unplug the USB from your board prior to connecting or disconnecting any shields, or else you risk damaging the shield or the board.
In order to start working with the PIR sensor, we’ll need to connect the shield to your TTGO board. If there is already a shield connected to your board, then first remove this. Then plug the button shield into the inner row of pins on the TTGO board, aligning the top edge of the shield (that says “LOLIN”) with the antenna of the TTGO board. The shield should not hang over the USB port!
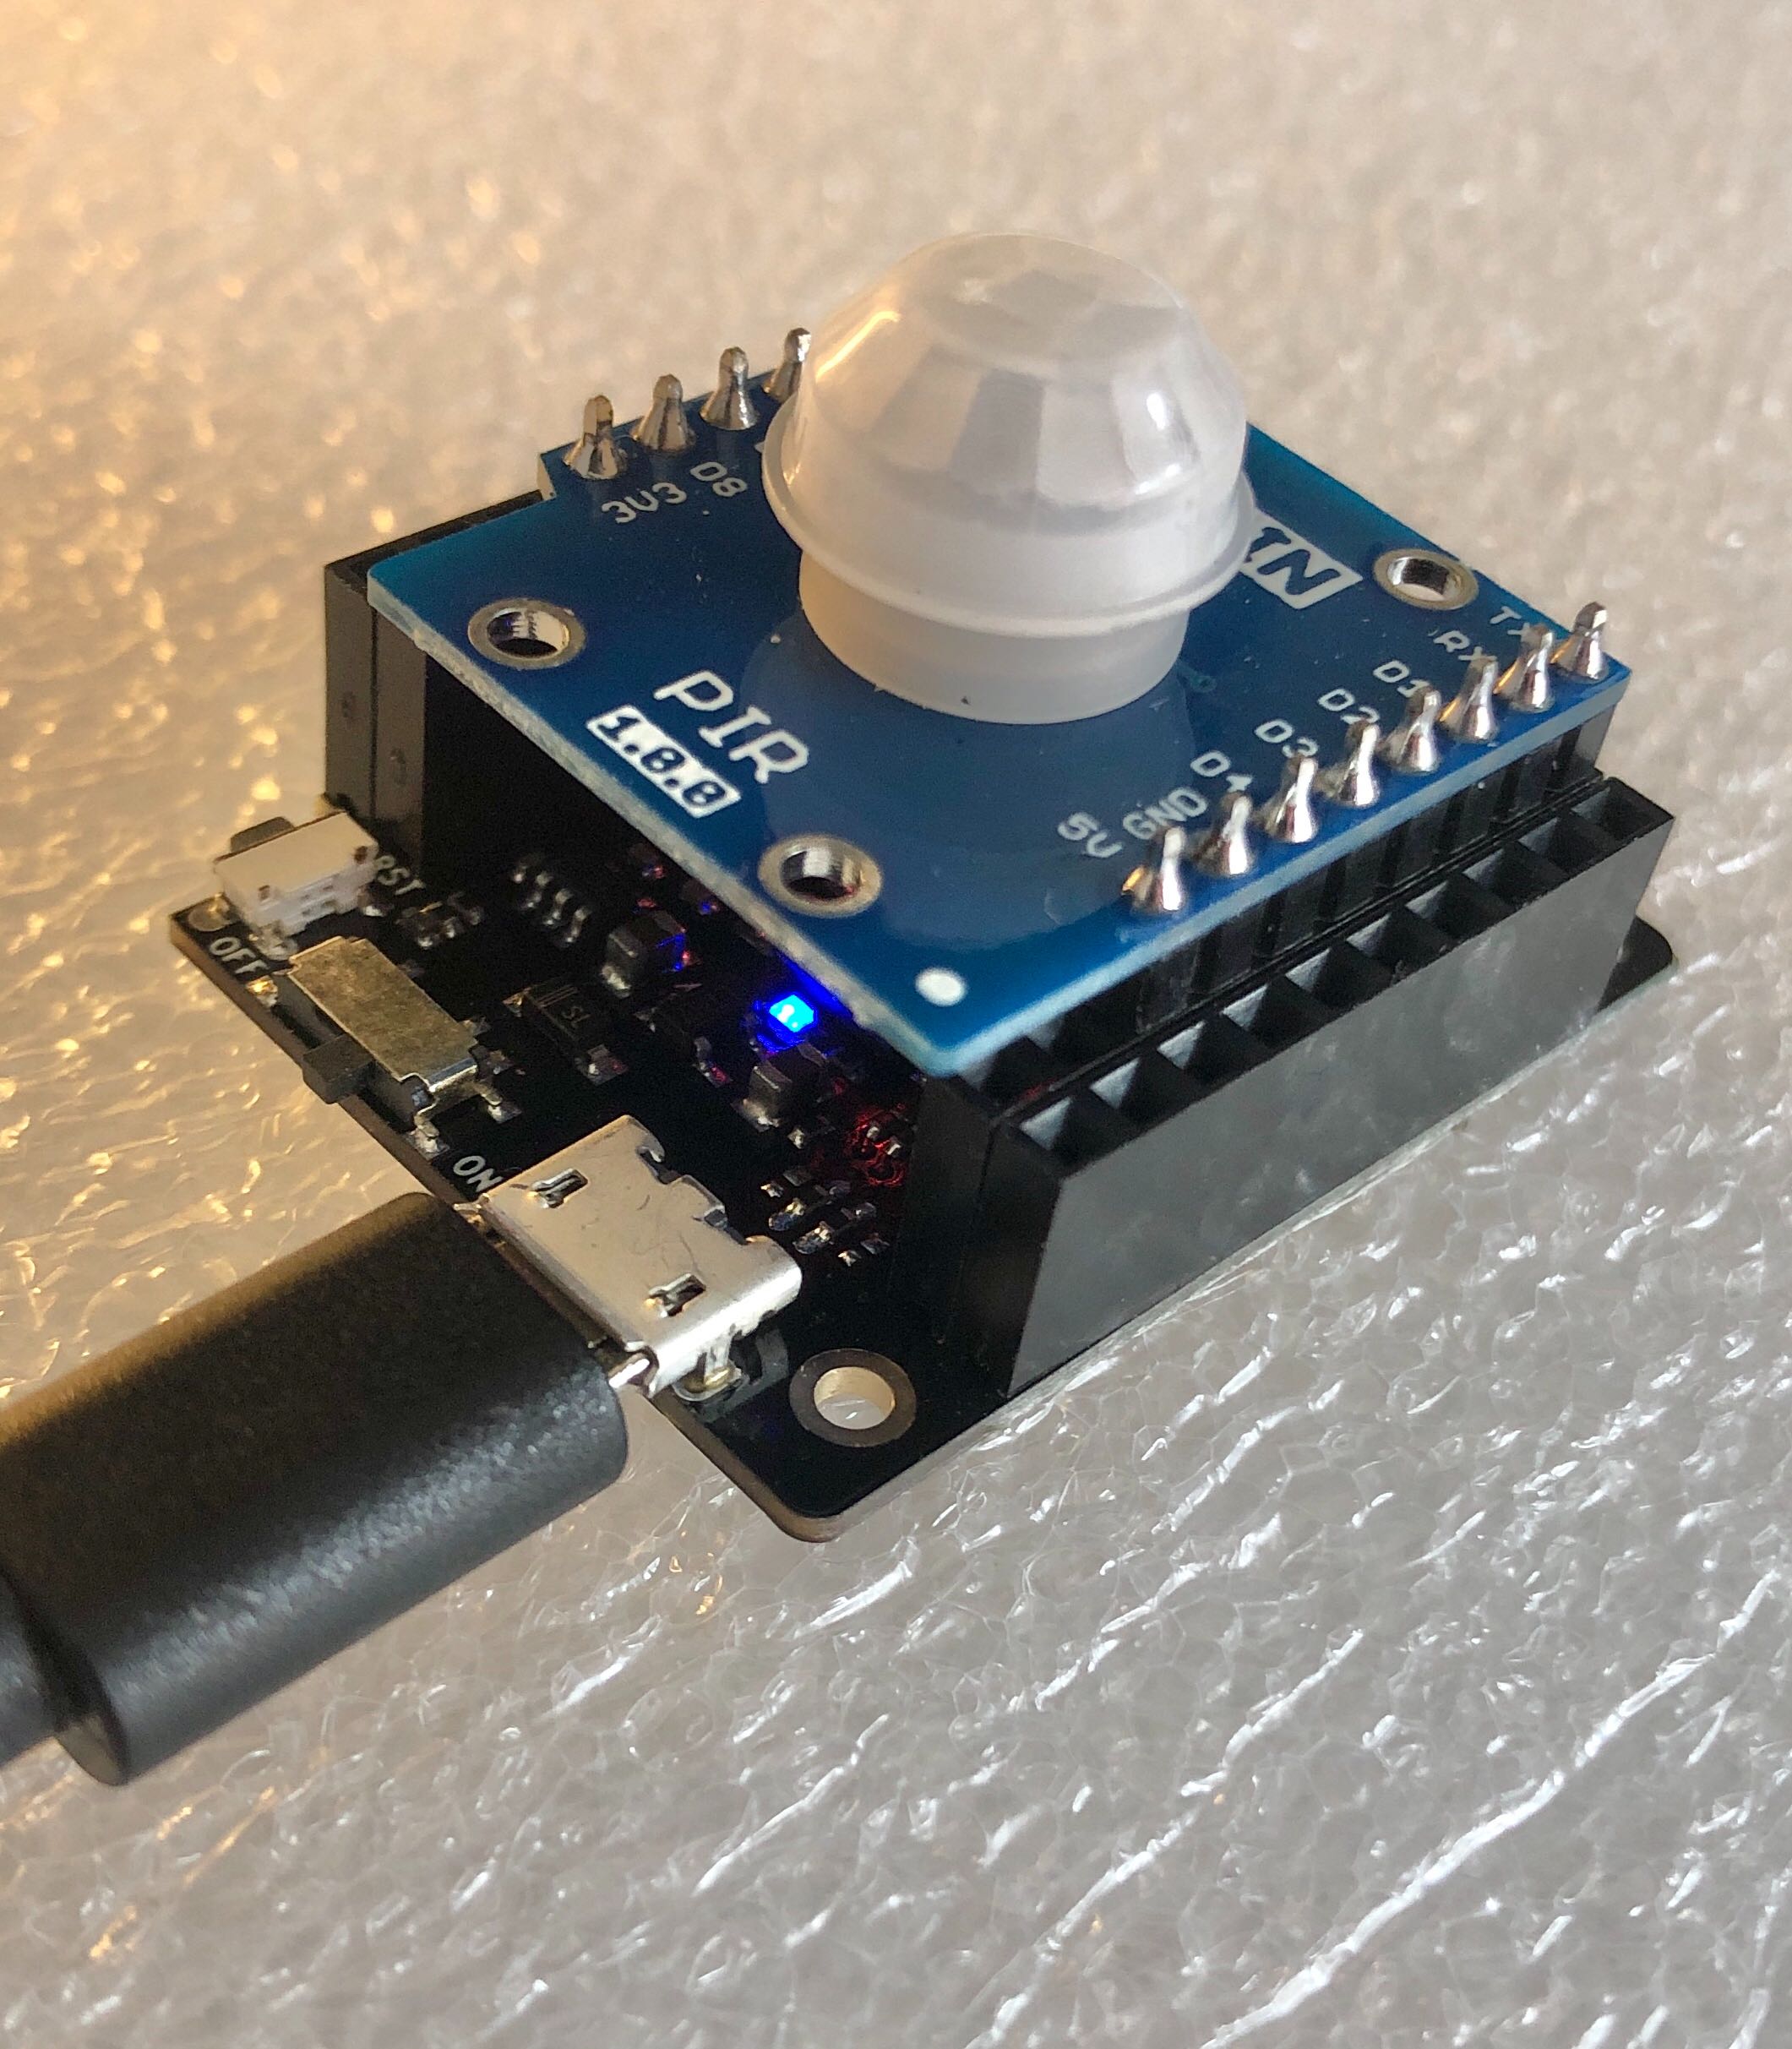
Note the two empty pin sockets in the headers closer to the USB!
Going Through the Motions
Now we’ve got the shield on the board, let’s run the following commands to test our PIR sensor:
1 2 3 4 5 6 | from machine import Pin
import d1_mini
pir = Pin(d1_mini.D3, Pin.IN)
pir.value()
# Move your hand in front of the sensor and then run that line again
pir.value()
|
As simply as that, we can now detect movement! Now lets run through what we just did:
- Imported the
Pinmodule from themachinemodule – we need this to configure our pin to interface with the PIR sensor - Imported our
d1_minimodule – we need this to get the pin information to then configure the correct pin to connect to the PIR sensor - Created a
pirobject that represents our PIR sensor. This sets up our relevant pin as an input (Pin.IN) - Checked what the current value of the PIR sensor is - this result should be a 0 when the PIR sensor doesn’t detect anything, and a 1 when movement is detected
We now have the ability to alter the result of our code by sensing movement! That is pretty exciting, as with this simple input capability we can now make gadgets that do things based on activity in the real world.
Make Something Happen
The most obvious use for a motion detector, is to make something happen when motion is detected! So lets do that:
while not pir.value():
    pass  # Ignore the PIR sensor when no motion is detected
print("Motion detected!")
Now we can make things happen on our device from the outside world!
Exercises
Time to take those concepts and put them into action! The following subsections detail different exercises that can improve our usage of the button.
Exercise 1: Make things happen again and again and again
Expand on the Make Something Happen code to make it so that the message is
printed every time motion is detected, not just the first time. The message
should only print once each time motion is detected, and once the motion stops
being detected, it should print how long it was detected for. For this, you
may want to use time.ticks_ms().